
To install a smart light switch yourself, turn off the power at the breaker and remove the faceplate. Note the wiring connections of the old switch, then disconnect and carefully detach it. Connect the line, load, neutral, and ground wires to the new switch as per instructions, ensuring secure connections. Mount the switch, restore power, and follow the manufacturer’s steps to connect it to Wi-Fi. For detailed guidance, keep exploring the steps to successfully upgrade your lighting control.
Key Takeaways
- Turn off power at the circuit breaker to ensure safety before beginning installation.
- Remove the existing switch and note the wiring connections, including line, load, neutral, and ground wires.
- Connect the smart switch’s wires to the corresponding house wires securely, following the manufacturer’s instructions.
- Turn the circuit breaker back on and use the app to connect the switch to Wi-Fi, following pairing steps.
- Test the switch physically and via app to confirm proper operation before finalizing installation.

Installing a smart light switch can substantially enhance your home’s convenience and energy efficiency. It allows you to control your lighting remotely, set schedules, and even integrate your lights with other smart devices. Before diving in, make sure you turn off the power at the circuit breaker to prevent any risk of electric shock. Confirm that the switch you’ve purchased is compatible with your existing wiring and your home’s wiring system. Most smart switches work with single-pole circuits, so if you have multi-way switches or complex wiring, check the product specifications or consult an electrician.
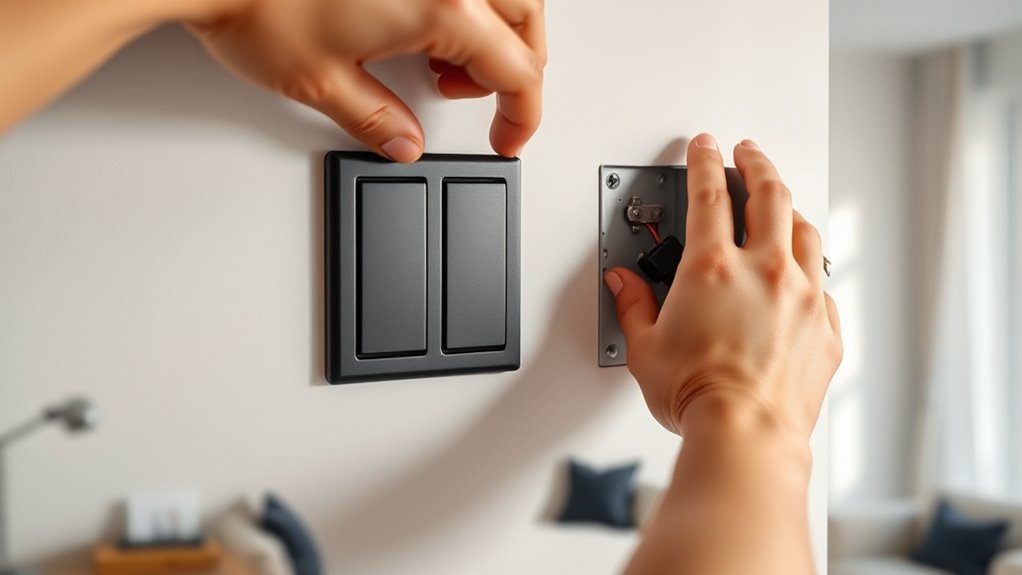
Once the power is off, remove the faceplate of your current switch using a screwdriver. Carefully unscrew the switch itself and gently pull it out of the electrical box. Take note of the wiring configuration—most switches have a line (hot), load, neutral, and ground wire. If your switch has a neutral wire, confirm that your home’s wiring includes one, as some older homes might not have this. Use a voltage tester to double-check that the wires are not live before touching them. Understanding the basic electrical wiring involved in smart switch installation can help prevent errors and ensure safety.
Before wiring, verify the switch’s configuration and ensure wires are not live with a voltage tester.
Next, disconnect the wires from the old switch, and then connect the new smart switch following the manufacturer’s instructions. Typically, you’ll connect the line and load wires to the corresponding terminals on the switch. If your switch has a neutral wire, connect it to the neutral wire in the box, usually white. The ground wire, often green or bare copper, should be attached to the ground terminal on the switch. Make sure all connections are tight and secure to prevent any future issues.
After wiring the switch, carefully tuck the wires back into the electrical box and secure the switch with screws. Replace the faceplate, and then turn the circuit breaker back on. Once power is restored, follow the manufacturer’s instructions to connect your smart switch to your Wi-Fi network. This usually involves downloading a dedicated app, creating an account, and following step-by-step pairing instructions. Ensure your phone is connected to the same Wi-Fi network you want the switch to operate on.
Testing your installation is essential. Turn the switch on and off via the physical button to verify basic functionality. Then, use the app to control the light remotely. If everything works correctly, you’ve successfully installed your smart light switch. Remember to keep the manual handy for troubleshooting tips and advanced features. With your new smart switch in place, you’ll enjoy improved control over your lighting and a more efficient, modern home.
Frequently Asked Questions
Can I Install a Smart Switch Without Turning off the Power?
You shouldn’t install a smart switch without turning off the power, as it’s dangerous and increases the risk of electrical shock. Always turn off the circuit breaker before starting any wiring work. If you forget or skip this step, you could get shocked or damage your electrical system. Safety comes first, so make sure the power is off before you begin installing the smart switch to protect yourself.
Will a Smart Switch Work With All Types of Bulbs?
A smart switch is like a conductor, but it only works well with certain bulbs. It’s compatible with most LED, incandescent, and halogen bulbs, but not all smart switches play nicely with CFL bulbs. Before installing, check the manufacturer’s list to avoid flickering or dimming issues. Think of it as pairing the right dance partner; compatible bulbs guarantee your smart switch performs a flawless, synchronized routine.
How Do I Troubleshoot Connectivity Issues?
To troubleshoot connectivity issues, first verify your Wi-Fi is working properly and your smart switch is within range. Restart your router and reset the switch if needed. Check for firmware updates through the app, and reconnect the switch to your network following the app instructions. Make sure your phone is connected to the same Wi-Fi network. If problems persist, move the switch closer to your router or contact support.
Is a Neutral Wire Necessary for Installation?
Did you know nearly 80% of smart switch installations require a neutral wire? You don’t always need one, but most modern smart switches do. If your home has a neutral wire in the switch box, installation becomes easier and more reliable. Without it, you might face compatibility issues or need a switch designed for no-neutral setups. Check your wiring beforehand to guarantee a smooth installation process.
Can I Install a Smart Switch in a Three-Way Switch Setup?
Yes, you can install a smart switch in a three-way switch setup, but it’s more complex. You’ll need a smart switch compatible with three-way wiring and possibly an auxiliary switch or traveler wiring. Make sure to turn off power first, then follow the switch manufacturer’s instructions carefully. If you’re unsure about wiring, consider consulting an electrician to guarantee safety and proper installation.
Conclusion
Now that you’ve installed your smart light switch, imagine walking into your room as the lights gently turn on with a simple tap or voice command—just like a scene from a movie. As you relax under the warm glow, you realize how seamlessly technology fits into your everyday life. With this easy upgrade, you’ve brought convenience and comfort right into your home, making every evening feel just a little brighter—and a little smarter—than before.