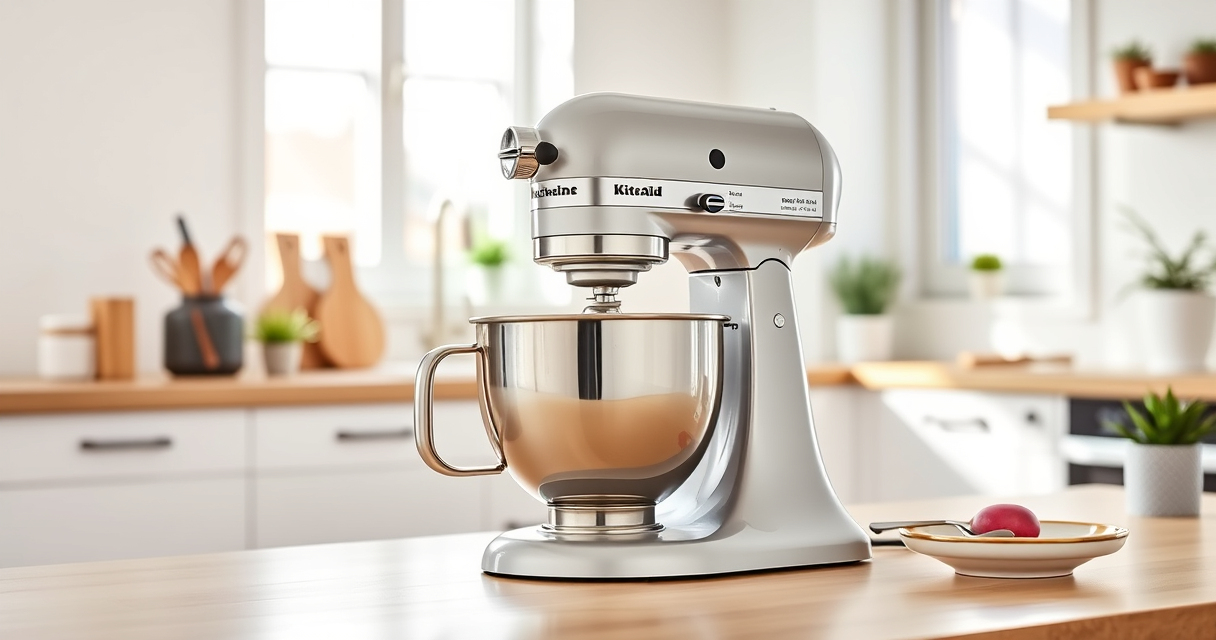

If your KitchenAid Artisan Series 5 Quart Tilt Head Stand Mixer is leaking oil, it can be frustrating and may indicate an underlying issue. Leaking oil not only messes up your workspace but can also affect the mixer’s performance over time. Fortunately, most oil leaks are fixable with some basic troubleshooting and maintenance. This guide provides clear, practical steps to diagnose and repair the leak, ensuring your mixer operates smoothly again.
Before starting, gather some basic tools such as a screwdriver, a clean cloth, and possibly replacement parts like seals or lubricants. Always ensure the mixer is unplugged before attempting any repairs to avoid injury.
Key Takeaways
| Identify the Leak | Determine whether the leak is from the gear housing or the motor shaft. |
| Check the Seals | Worn or damaged seals are often the culprit behind oil leaks. |
| Clean and Inspect | Thoroughly clean the exterior and inspect internal components for damage. |
| Replace Faulty Parts | Install new seals or lubrication as needed to stop the leak. |
| Test the Mixer | Run the mixer at low speed to ensure the leak is fixed before regular use. |

KitchenAid Artisan Series 5 Quart Tilt Head Stand Mixer with Pouring Shield KSM150PS, Milkshake
Built to take it all on with the durable and built-to-last metal construction, and 59 touchpoints around the...
As an affiliate, we earn on qualifying purchases.
Step 1: Unplug and Prepare Your Mixer
- Always unplug your KitchenAid mixer before starting any maintenance or repair work.
- Place the mixer on a stable, flat surface and gather your tools: screwdriver, cloth, replacement seals, and lubricant if needed.
- Remove the attachment hub cover and any attachments to access internal components easily.

KitchenAid Stand Mixer Attachment, Food Grinder KSMMGA, Metal Food Grinder
Connect to any household KitchenAid Stand Mixer power hub and use the power of the motor to run...
As an affiliate, we earn on qualifying purchases.
Step 2: Access the Gear Housing and Internal Components
- Loosen the screws holding the tilt-head in place using a screwdriver.
- Carefully tilt the head back and support it securely while you inspect the gear housing.
- Wipe away any excess oil or debris with a clean cloth to clearly see the source of the leak.
Step 3: Inspect Seals and Gaskets
- Examine the seals surrounding the gear housing and the motor shaft for signs of wear, cracks, or damage.
- If seals are cracked or deformed, they are likely causing the oil leak.
- Replace any damaged seals with new ones designed for your model, following the manufacturer’s instructions.
Step 4: Lubricate or Replace Faulty Parts
If seals are intact but the leak persists, consider lubricating the gear assembly with food-grade lubricant recommended by KitchenAid. If seals are damaged, replace them entirely to prevent future leaks.
Ensure that all replacement parts are compatible with your model (ASIN: B0769ZQWH7).
Step 5: Reassemble and Test the Mixer
- Carefully reattach the tilt-head and tighten all screws securely.
- Reinstall the attachment hub cover and any attachments removed earlier.
- Plug in the mixer and run it at low speed to observe if the leak persists.
- Check for any signs of oil seepage during operation.
The Products in This Guide

KitchenAid Artisan Series 5 Quart Tilt Head Stand Mixer
- ✔ Dimensions: 14 x 8 x 14 inches
- ✔ Warranty: 1 year limited
- ✔ Country of Origin: USA

KitchenAid Stand Mixer Attachment
- ✔ Weight: 4 pounds
- ✔ Dimensions: 8 x 6 x 12 inches
- ✔ Color: Metal finish
KitchenAid Artisan Series 5 Quart Tilt Head Stand Mixer
The KitchenAid Artisan Series 5 Quart Tilt Head Stand Mixer is built with durable metal construction and offers excellent mixing performance. However, like any mechanical device, it can develop leaks over time due to worn seals or internal wear. Regular inspection and maintenance can extend its lifespan and keep it functioning properly.
Pros:
- Sturdy metal construction for durability
- Multiple speed settings for versatility
- Tilt-head design for easy access
- Dishwasher safe bowl
Cons:
- Potential for oil leaks if seals wear out
- Requires maintenance over time
- Heavy and less portable
Best for: Home bakers and cooking enthusiasts needing a reliable mixer
Not ideal for: For those seeking a lightweight or portable appliance
Bottom line: Proper maintenance ensures your KitchenAid mixer remains leak-free and performs optimally.
KitchenAid Stand Mixer Attachment
This food grinder attachment transforms your KitchenAid mixer into a powerful kitchen tool for grinding meat, vegetables, and more. It’s robust, easy to attach, and enhances the functionality of your mixer.
Pros:
- Strong metal construction for durability
- Multiple grinding plates for versatility
- Easy to clean and store
- Compatible with all KitchenAid household mixers
Cons:
- Additional purchase required
- Requires cleaning after use
- Can be noisy during operation
Best for: Home cooks wanting fresh ground ingredients
Not ideal for: For users who do not frequently grind foods
Bottom line: A versatile attachment that expands your KitchenAid’s capabilities for fresh, homemade foods.
Frequently Asked Questions
Why is my KitchenAid mixer leaking oil?
Oil leaks typically occur due to worn or damaged seals inside the gear housing or around the motor shaft. Over time, these seals can deteriorate, leading to seepage.
Can I fix the oil leak myself?
Yes, with basic tools and replacement seals, you can often repair minor leaks. However, if you’re uncomfortable disassembling the mixer, consider professional repair services.
What type of lubricant should I use?
Use a food-grade lubricant recommended by KitchenAid, especially if you plan to lubricate internal parts. Avoid using regular automotive lubricants.
How often should I check for leaks?
Inspect your mixer periodically, especially after prolonged use or if you notice any unusual oil spots or changes in performance.
Will fixing the leak void my warranty?
If you perform repairs yourself, it may affect your warranty. Always check with KitchenAid’s warranty policy or seek authorized service if in doubt.
Keep Your KitchenAid Mixer Running Smoothly
A leaking KitchenAid stand mixer can be a simple fix with the right approach. Regular inspections, timely replacement of seals, and proper lubrication will help maintain its performance and longevity. Follow these steps carefully, and your mixer will continue to be a dependable kitchen companion for years to come.
Affiliate disclosure: As an Amazon Associate we earn from qualifying purchases. Prices and availability are accurate as of the time of publishing.