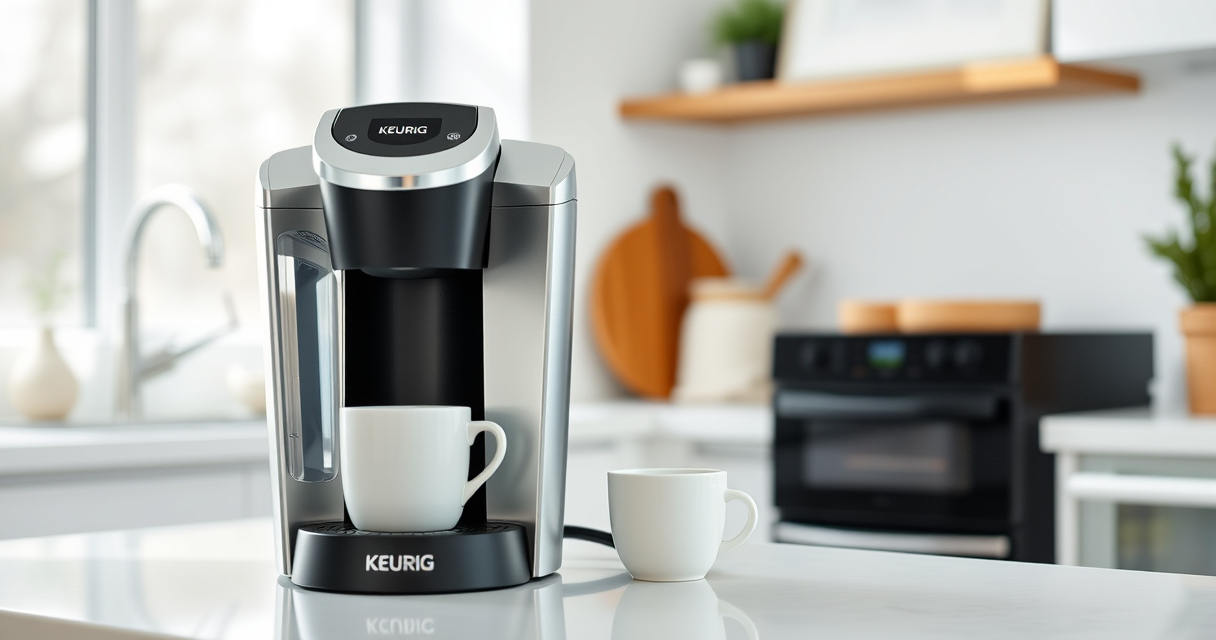
Getting your new Keurig K-Mini single serve coffee maker ready for use is simple but requires some important initial steps to ensure optimal performance and safety. Whether you’re a first-time user or just need a quick refresher, this guide walks you through the entire setup process, from unboxing to brewing your first cup.
Follow these practical, clear instructions to enjoy fresh coffee quickly and effortlessly, making the most of your compact and efficient Keurig K-Mini.
Key Takeaways
| Compact Design | Fits easily in small spaces, ideal for tight countertops. |
| Simple Setup | Requires minimal assembly and straightforward steps. |
| Fresh Water Only | Use fresh water for each brew to ensure quality. |
| Maintenance Matters | Regular descaling and cleaning preserve flavor and machine lifespan. |
| Compatible Accessories | Optional reusable filter for ground coffee brewing. |

Keurig K-Mini Single Serve K-Cup Pod Coffee Maker, 6 to 12oz Brew size, with Cord Storage, Perfect for Small Spaces, Black
- Compact Design: Fits spaces less than 5 inches wide
- Adjustable Brew Size: Brew 6-12oz cups with Keurig pods
- Removable Water Reservoir: Add fresh water for each brew
As an affiliate, we earn on qualifying purchases.
Unboxing and Initial Inspection
- Carefully unpack your Keurig K-Mini from its box, ensuring all components are present. The box should include the coffee maker, a power cord, and possibly a user manual.
- Inspect the machine for any visible damage or loose parts. Confirm that the water reservoir is empty and the drip tray is in place.
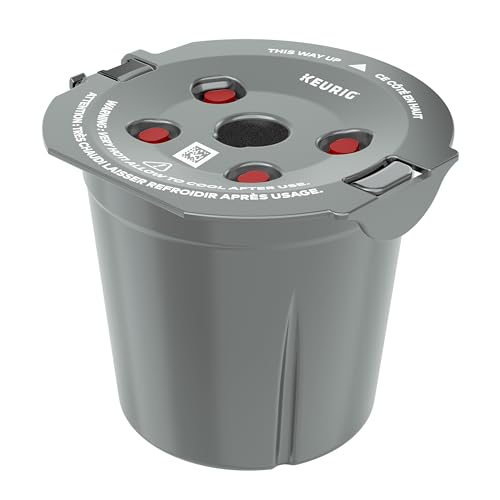
My K-Cup® Reusable Coffee Filter
- Brew with Ground Coffee: Use your favorite ground coffee
As an affiliate, we earn on qualifying purchases.
Setting Up Water Reservoir and Power
- Place the Keurig K-Mini on a flat, stable surface near an electrical outlet. Ensure the area has enough space for the machine and for water filling.
- Remove the water reservoir cap and fill the reservoir with fresh, clean water up to the MAX fill line. Do not overfill.
- Securely reattach the reservoir cap.
- Plug the machine into an outlet. The auto-off feature will activate 90 seconds after your last brew, so keep it plugged in for convenience.
Priming and First Brew
- Place a mug or travel mug on the removable drip tray, ensuring it fits under the spout (up to 7 inches tall).
- Power on the machine by pressing the power button. The indicator light should turn on.
- Select your desired brew size (6-12 oz). For the first use, it’s recommended to run a cleansing brew without a K-Cup to flush out any manufacturing residues.
- Place a mug under the spout, then press the brew button. Discard the first brew water to ensure clean water for your actual coffee.
Using K-Cup Pods or Reusable Filter
- If using K-Cup pods, insert your favorite coffee pod into the pod holder, then close the lid securely.
- If you prefer ground coffee, consider using the My K-Cup reusable filter (sold separately). Fill it with your preferred ground coffee, then insert it into the machine as you would a K-Cup.
Brewing Coffee Safely and Tips
Always use fresh water for each brew to ensure the best flavor. Do not overfill the water reservoir to prevent spills or damage.
Be cautious when handling hot water and coffee to avoid burns. Use the removable drip tray for easy cleanup after each brew.
To prolong your machine’s life, descale regularly using descaling solutions, especially if you notice scaling or mineral buildup.