To install a smart security camera yourself, first choose a high-traffic, unobstructed spot like your front door or driveway. Use a drill and mounting brackets to secure the camera firmly, making sure it’s level and covers key areas. Connect the camera to your Wi-Fi following the app’s instructions, then adjust the angle and test the live feed. Setting motion alerts and schedules guarantees you stay protected—continue with these steps to get the full setup tips.
Key Takeaways
- Choose an optimal location with a clear line of sight, considering coverage and low light conditions.
- Mark and drill holes for mounting, using appropriate tools and anchors for your wall type.
- Attach the mounting bracket securely, then connect and position the camera for desired coverage.
- Power on the camera, then use the app to connect to Wi-Fi, scan QR codes, and adjust angle.
- Configure settings like motion alerts and recording schedules, and regularly maintain the camera for optimal performance.

Installing a smart security camera is a straightforward process that can greatly enhance your home’s safety. Before you begin, gather all the necessary tools and equipment, such as a drill, screwdriver, mounting brackets, and the camera itself. Make sure your Wi-Fi is operational and that your smartphone or tablet is ready for setup. Read through the camera’s instruction manual thoroughly to familiarize yourself with the specific steps and features. This preparation helps prevent any surprises during installation and guarantees you understand how to connect and configure the device properly. Additionally, understanding the heat distribution features of your camera can help you optimize its placement and performance in different environments.
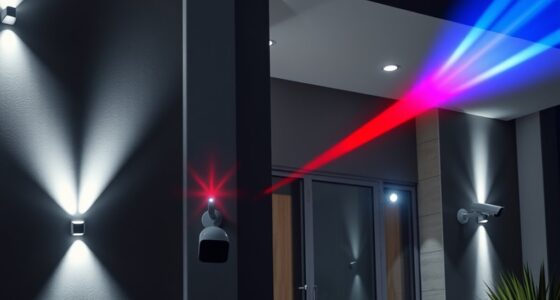
Start by choosing the best location for your camera. Consider areas that need the most surveillance, like front doors, driveways, or backyard entrances. Ensure the spot offers a clear line of sight and isn’t obstructed by trees, walls, or other objects. Check the camera’s field of view to maximize coverage and avoid blind spots. If your camera has night vision, position it where it can capture footage in low light conditions. Once you’ve selected the spot, mark the drill holes for the mounting bracket, making sure it’s level for a professional look and top-notch functionality.
Next, drill the holes into the wall or surface where you plan to mount the camera. Use the appropriate drill bit for your wall material, whether it’s drywall, brick, or wood. Insert anchors if necessary to secure the mount firmly, especially on masonry or concrete surfaces. Attach the mounting bracket with screws, ensuring it’s tight and stable. Carefully connect the camera to the bracket according to the manufacturer’s instructions, making sure all components are securely fastened.
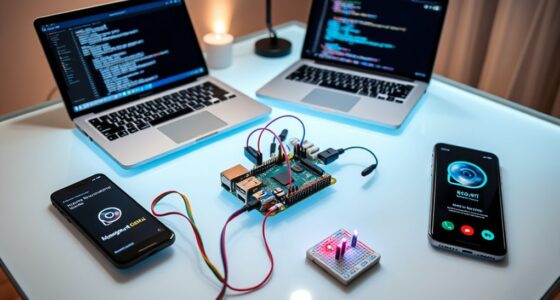
Now, it’s time to connect the camera to your Wi-Fi network. Power up the device using the provided power adapter, then open the associated app on your smartphone or tablet. Follow the app’s prompts to add the new device, which may include scanning a QR code or entering a unique ID. Ensure your device is within range of your Wi-Fi signal for a smooth connection. Once connected, you can adjust the camera’s angle and zoom to get the desired coverage area. Use the app to test the live feed, ensuring the camera captures clear footage and covers the intended space.
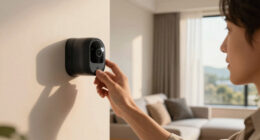
Finally, configure your settings, such as motion detection zones, alerts, and recording schedules. Enable notifications on your device so you’re promptly alerted to any activity. Regularly check the camera’s footage and maintain its position for top-tier security. With these steps completed, you’ve successfully installed a smart security camera that helps keep your home safer and gives you peace of mind.
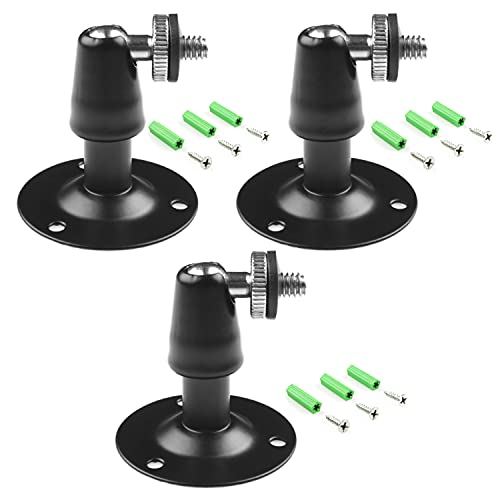
Camera Bracket Mount 3 Pcs Security Wall Mount for Oculus Sensor Arlo, Arlo Pro,Metal Security Camera Bracket Outdoor Indoor Oculus Rift Mount Bracket 360° Rotation 1/4" Screw Camera Wall Mounts
Metal Housing Mount is ideal For Especially designed for Arlo and Arlo Pro Smart Home Security Camera System…
As an affiliate, we earn on qualifying purchases.
As an affiliate, we earn on qualifying purchases.
Frequently Asked Questions
What Is the Average Cost of a DIY Smart Security Camera?
The average cost of a DIY smart security camera ranges from $50 to $200, depending on features and brand. Basic models with HD video and motion alerts tend to be more affordable, while advanced options with night vision, two-way audio, and wider coverage cost more. Consider your security needs and budget, then choose a camera that offers the best value for your money. Keep an eye out for deals and bundles to save.
How Do I Troubleshoot Wi-Fi Connectivity Issues?
If your Wi-Fi connection acts up, you’re likely facing a minor hiccup. First, restart your router and camera to refresh the signal. Make certain the camera’s within range of your Wi-Fi and that no big obstacles block the signal. Double-check your network settings and update your camera’s firmware if needed. If issues persist, consider resetting your camera’s network settings or moving your router closer for a stronger connection.
Can I Install Multiple Cameras Simultaneously?
Yes, you can install multiple cameras simultaneously. Most smart security systems support multi-camera setups, allowing you to connect several devices at once. To do this efficiently, make sure your Wi-Fi network has enough bandwidth and a strong signal in all areas. Follow the manufacturer’s instructions for each camera, and use the app or software to set up and manage multiple devices at the same time, saving you time and effort.
What Safety Precautions Should I Take During Installation?
Think of safety precautions as your security guard during installation. You should wear sturdy gloves and eye protection to avoid injuries, especially when handling tools or drilling. Turn off power sources before wiring to prevent shocks. Use a sturdy ladder and ensure it’s on a flat surface to avoid falls. Keep your workspace clear of clutter, and double-check all connections before powering up, so your installation remains safe and secure.
How Do I Update the Camera’s Firmware Manually?
To update your camera’s firmware manually, first visit the manufacturer’s website and download the latest firmware file onto your computer. Then, log into your camera’s settings via its app or web interface. Navigate to the firmware update section, upload the downloaded file, and follow the prompts to complete the update. Make certain your camera stays powered on during this process to prevent any issues.

2026 Enhanced 2K UHD Security Cameras Wireless Outdoor – Free Cloud & SD Storage, Dual-Band WiFi 2.4G/5G, Full-Color Night Vision, 6-Month Battery, Motion Alerts, IP66 Weatherproof, 2-Way Talk
📌【Why Choose Us?】 Millions of families trust realhide for hassle-free, reliable home security. From easy setup to long-lasting…
As an affiliate, we earn on qualifying purchases.
As an affiliate, we earn on qualifying purchases.
Conclusion
Installing your smart security camera is like giving your home a vigilant eye—trust me, I did it myself and felt like I added a silent guardian to my space. Once set up, I realized I’d gained more peace of mind—just like having a friendly neighbor watching over your place. With a little effort, you’ve transformed your home into a safer haven. Now, sit back and enjoy the extra layer of protection you’ve just created.

aosu Solar Security Cameras Wireless Outdoor, 2Mins DIY Installation, No Subscription Required Cameras for Home Security System, Local Storage, 2K Color Night Vision, 2.4&5GHz WiFi, 4 Cam-kit
2-Minute DIY Installation By Anyone: Truly wireless outdoor cameras features a integrated solar panel—just drill 4 holes and…
As an affiliate, we earn on qualifying purchases.
As an affiliate, we earn on qualifying purchases.
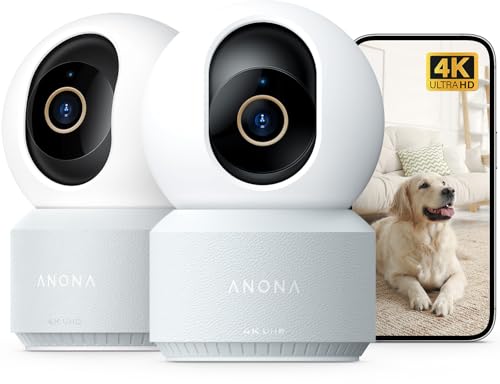
Anona 4K UHD Indoor Camera, Pet/Dog/Baby Security Camera with Phone App, 360°Pan-Tilt, 5G/2.4G Dual-Band Wi-Fi 6, Auto-Tracking, Person/Pet/Baby Crying Detection, Privacy Mode, Two-Way Audio, 2 Pack
【Stunning 4K UHD & 8x Zoom】 Capture tiny details and record 4K ultra-clear videos day & night with…
As an affiliate, we earn on qualifying purchases.
As an affiliate, we earn on qualifying purchases.