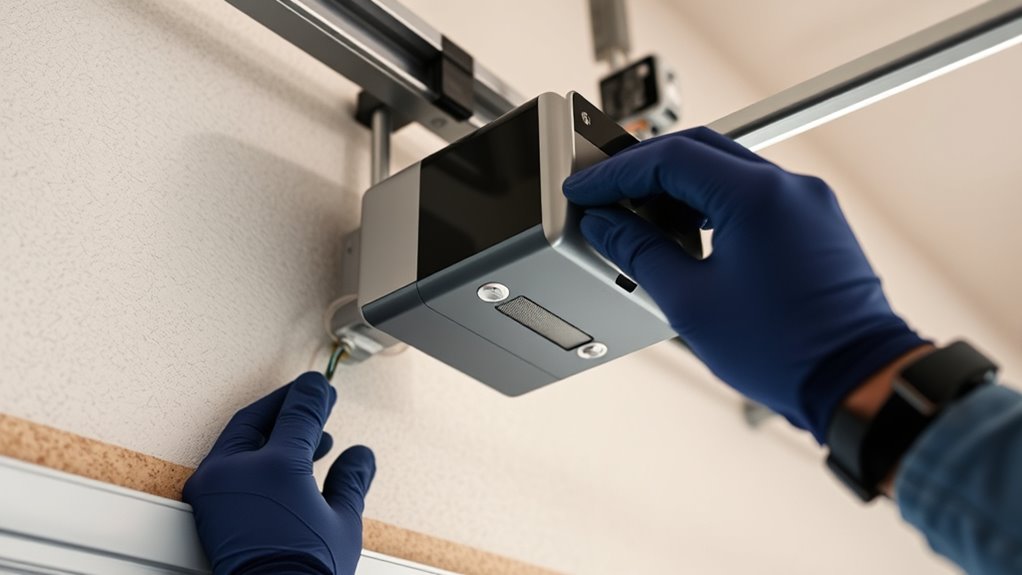

To install a smart garage door opener, start by disconnecting power and removing your old system carefully. Mount the new bracket securely to the ceiling, ensuring it’s level and aligned. Attach the opener to the bracket, then connect it to power. Install safety sensors on either side of the door and pair the device with your Wi-Fi using the app. Test the system manually and remotely, adjusting settings as needed. If you keep going, you’ll discover detailed steps to complete a seamless setup.
Listen free for 30 days with Audible
Thousands of audiobooks and originals — cancel anytime.
As an affiliate, we earn on qualifying purchases.
Key Takeaways
- Disconnect power, remove the old opener, and prepare the ceiling area for the new smart garage door opener installation.
- Mount the bracket securely to ceiling joists, ensuring proper alignment with a level.
- Attach the smart opener to the bracket, connect power, and download the compatible app for setup.
- Install safety sensors, pair the device with Wi-Fi, and test remote and manual operation for proper function.
- Configure app settings, verify safety features, and ensure the door operates smoothly both manually and electronically.
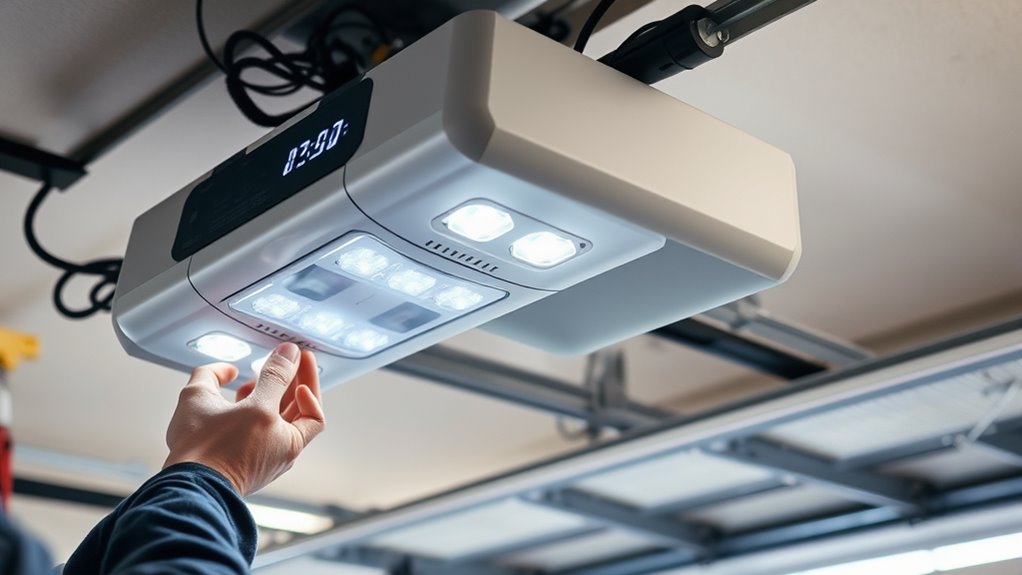
Installing a smart garage door opener is a straightforward project that can enhance your home’s convenience and security. With the right tools and a bit of patience, you can upgrade your garage door system yourself, saving money and gaining the satisfaction of a job well done. First, gather all the necessary materials, including the smart garage door opener kit, a ladder, a screwdriver, a wrench, and a level. Before starting, read through the manufacturer’s instructions thoroughly to familiarize yourself with the specific steps and safety precautions.
Begin by disconnecting the existing garage door opener from power and ensuring the door is fully closed. Remove the old opener by unmounting it from the ceiling, disconnecting it from the door, and detaching any safety sensors. Carefully set aside these parts if you plan to reuse them or discard them if they’re outdated or incompatible with your new smart system. Next, locate the mounting bracket for the new smart opener, typically included in the kit. Use a level to confirm the bracket will be straight, then install it securely onto the ceiling joists using screws and a drill. Proper alignment is essential to guarantee smooth operation.
Disconnect power, remove the old opener, and securely install the new mounting bracket with a level for proper alignment.
Once the mounting bracket is in place, attach the smart garage door opener unit to it, following the manufacturer’s instructions. Connect the power supply and plug in the device. Most smart openers require Wi-Fi connectivity, so you’ll need to download the corresponding app on your smartphone or tablet. Turn on the garage door and test that it opens and closes smoothly manually. This step verifies that the door’s mechanical parts are functioning correctly before connecting the smart system.
Next, install the safety sensors on either side of the garage door, typically near the floor. Make sure they’re aligned and unobstructed, as these sensors prevent the door from closing if something is in the way. Follow the app instructions to pair your smart garage door opener with your home Wi-Fi network. This usually involves putting the device into pairing mode and selecting your network from the app. Once paired, test the system by opening and closing the garage door remotely via the app to confirm everything works seamlessly.
Finally, customize your settings within the app, such as enabling notifications, setting schedules, or integrating with other smart home devices. Keep in mind that the compatibility between your existing garage door components and the new smart system can influence installation success which is why understanding the different technologies, like DLP or LCD, and their impact on safety features is important. Double-check all connections, confirm the door operates smoothly both manually and electronically, and verify safety features are active. With these steps completed, you’ve successfully installed a smart garage door opener, giving you convenient remote access and enhanced security for your home.
As an affiliate, we earn on qualifying purchases.
Frequently Asked Questions
Can I Retrofit a Smart Opener to My Existing Garage Door?
Yes, you can retrofit a smart opener to your existing garage door. First, check if your current door has a manual release handle and a compatible track. Then, purchase a smart garage door opener kit designed for retrofit installation. Follow the instructions to remove your old opener, install the new smart device, and connect it to your Wi-Fi. This upgrade allows you to control your door remotely and enhance security easily.
What Is the Average Cost of Installing a Smart Garage Door Opener?
The average cost to install a smart garage door opener ranges from $200 to $500, depending on the model and complexity. You might find a budget-friendly option or choose a premium system with advanced features. Keep in mind, professional installation can add to the cost but guarantees proper setup. Don’t forget, investing in smart technology can boost convenience, security, and even home value—making that price well worth it.
How Long Does the Installation Process Typically Take?
The installation usually takes about 2 to 4 hours, depending on your experience and the garage door setup. You’ll spend time removing the old opener, connecting the smart device, and configuring the app. If you’re handy, you might finish closer to two hours. However, if you’re new to DIY projects, it could extend to four hours or more. Make sure to read the instructions carefully for a smooth process.
Is Professional Installation Necessary or Can I Do It Myself?
You can definitely install a smart garage door opener yourself if you’re comfortable with basic tools and follow the instructions carefully. Many models come with detailed guides and are designed for DIY installation. However, if you’re unsure about electrical wiring or the safety features, hiring a professional guarantees proper setup and peace of mind. Consider your experience and comfort level before deciding whether to DIY or hire an expert.
What Safety Features Do Smart Garage Door Openers Include?
Smart garage door openers include safety features like automatic reversal, which stops and reverses the door if it detects an obstacle, preventing injuries or damage. They also have rolling code technology that changes the access code each time, enhancing security. Additionally, many models offer manual release mechanisms for emergencies, smartphone alerts for unauthorized access, and infrared sensors for collision prevention, giving you peace of mind and added safety during operation.
As an affiliate, we earn on qualifying purchases.
Conclusion
Now that you’ve installed your smart garage door opener, you’re the captain steering your home’s safety ship through calm and stormy seas alike. With just a few simple steps, you’ve unlatched the power to control your garage at your fingertips—like holding the keys to a fortress. So, sit back and enjoy the smooth sailing of convenience and security, knowing you’ve turned your garage into a smart, vigilant guardian watching over your home, always ready at your command.
Wi-Fi compatible garage door opener
As an affiliate, we earn on qualifying purchases.
As an affiliate, we earn on qualifying purchases.
garage door opener installation tools
As an affiliate, we earn on qualifying purchases.
As an affiliate, we earn on qualifying purchases.
Flea & tick season Picks
flea and tick prevention
As an affiliate, we earn on qualifying purchases.