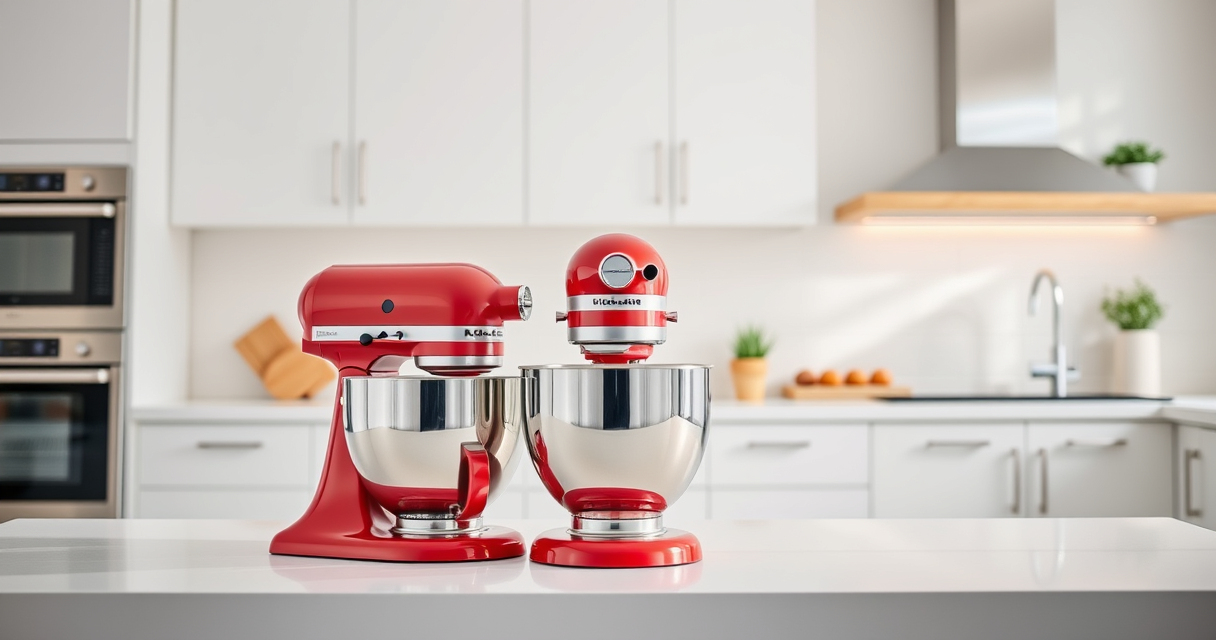

Getting your new KitchenAid Artisan Series 5 Quart Tilt Head Stand Mixer ready for action is straightforward, but doing it correctly ensures safety and optimal performance. Whether you’re a first-time user or upgrading from a different model, this guide covers every step to set up your mixer properly, from unpacking to initial use.

Get home appliances delivered free with Prime
- Fast, free delivery on millions of items
- Prime Video, Amazon Music and more included
- Member-only deals all year
We’ll also share helpful tips for maintenance, troubleshooting common issues, and exploring useful attachments to expand your mixer’s capabilities. Let’s get started with everything you need to know to enjoy your KitchenAid mixer for years to come.
Key Takeaways
| Ease of setup | Simple, step-by-step instructions for unboxing and assembling. |
| Safety first | Ensure proper handling and assembly to prevent accidents. |
| Attachment readiness | Guidance on attaching and using accessories. |
| Maintenance tips | How to clean, troubleshoot, and keep your mixer in top shape. |
| Expand functionality | Recommendations for useful attachments to enhance your mixer. |
Unboxing and Initial Inspection
- Carefully unbox your KitchenAid Artisan Series 5 Quart Tilt Head Stand Mixer, ensuring all components are present, including the mixer, stainless steel bowl, pouring shield, and any accessories.
- Inspect the mixer for any visible damage that may have occurred during shipping. Check that the tilt head moves smoothly and that all parts are clean and free of debris.
- Remove all packaging materials and protective films from the mixer and attachments.
Setting Up the Mixer
- Place the mixer on a stable, flat surface. Ensure there’s enough space around the unit for easy access and attachment use.
- Attach the stainless steel bowl by aligning its tabs with the slots on the mixer base. Turn the bowl clockwise to lock it into place securely.
- Lift the tilt head and lock it in the upright position. Check that it moves smoothly and locks securely.
Attaching Accessories and Preparing to Use
- Select the appropriate attachment for your task, such as the flat beater, wire whip, or dough hook. Insert the attachment into the power hub at the center of the mixer head, ensuring it clicks into place.
- Lower the tilt head and lock it into the locked position for stability during operation.
- Pour ingredients into the bowl, using the pouring shield if necessary to prevent splatters.
- Set the speed dial to the desired setting, starting at a low speed to prevent splashing, then increase gradually.
Initial Operation and Troubleshooting
Turn on your mixer and observe its operation. If it runs smoothly without unusual noise or vibrations, you’re ready to start mixing. If you encounter issues such as the mixer not turning on or attachments not engaging, double-check that all parts are securely attached, and that the power cord is plugged in properly.
For any persistent problems, consult the user manual or contact KitchenAid customer support for assistance.
Cleaning and Maintenance Tips
- After use, disconnect the mixer and remove attachments. Wash the bowl and attachments with warm, soapy water. The stainless steel bowl is dishwasher safe.
- Wipe the mixer body with a damp cloth. Avoid abrasive cleaners that might damage the finish.
- Periodically check the power cord and plug for damage and replace if necessary.
Expanding Your KitchenAid Mixer’s Capabilities
To get the most out of your mixer, consider adding attachments such as the KitchenAid Food Grinder or Pasta Roller Set. These accessories connect to the power hub and allow you to grind meats, make fresh pasta, and more, expanding your culinary possibilities.
Ensure you follow attachment-specific instructions for setup and cleaning to keep everything in optimal condition.
The Products in This Guide

KitchenAid Artisan Series 5 Quart Tilt Head Stand Mixer
- ✔ Motor Power: 250W
- ✔ Bowl Capacity: 5 Quart
- ✔ Color Choices: Over 20

KitchenAid Stand Mixer Attachment
- ✔ Attachment Type: Food Grinder
- ✔ Material: Metal
- ✔ Includes: Multiple plates & stuffer tubes
KitchenAid Artisan Series 5 Quart Tilt Head Stand Mixer
<p>The KitchenAid Artisan Series 5 Quart Tilt Head Stand Mixer combines durability, versatility, and style, making it a top choice for home bakers. Its robust metal construction and 59 touchpoints ensure thorough mixing. The tilt head design allows easy access, and 10 speeds handle any recipe with ease.</p><p>Ideal for small to large batches, the mixer’s stainless steel bowl is dishwasher safe and holds up to 5 quarts, perfect for cookies or bread dough.</p>
Pros:
- Durable metal construction
- Easy tilt-head access
- Multiple speed options
- Large capacity bowl
Cons:
- Relatively heavy
- Requires some space for storage
- Limited to stand mixer functions
Best for: Home bakers needing a reliable, multi-purpose mixer
Not ideal for: Commercial bakeries or heavy-duty industrial use
Bottom line: A durable, versatile mixer perfect for home baking enthusiasts.
KitchenAid Stand Mixer Attachment
<p>The KitchenAid Food Grinder Attachment turns your stand mixer into a versatile food processor, ideal for grinding meats, vegetables, and nuts. Its sturdy metal construction and included multiple grinding plates provide consistent results every time. Easy to attach and clean, it’s an excellent addition for those who enjoy homemade foods.</p>
Pros:
- Transforms mixer into a meat grinder
- Includes multiple grinding plates
- Large food tray for bigger batches
- Easy to clean and store
Cons:
- Attachment sold separately
- Requires pre-chilling for best results
- Additional storage space needed
Best for: Making fresh ground meats and ingredients at home
Not ideal for: For users who only do basic mixing tasks
Bottom line: A powerful attachment to diversify your home cooking and food prep.
Frequently Asked Questions
How do I attach accessories to my KitchenAid mixer?
Align the attachment with the power hub at the center of the mixer head, insert it into the hub, and turn or push until it clicks securely into place.
Can I use the mixer while the tilt head is locked?
Yes, the tilt head should be locked in the upright position during operation for safety and stability.
Is the stainless steel bowl dishwasher safe?
Yes, the 5-quart stainless steel bowl is dishwasher safe, making cleanup easy after baking or mixing.
How do I troubleshoot if the mixer isn’t starting?
First, ensure the mixer is plugged in and the power switch is on. Check that the tilt head is securely locked in place. If it still doesn’t start, inspect the power cord and contact support if needed.
Can I use other brand attachments?
It’s best to use KitchenAid-specific attachments designed for your model, as compatibility isn’t guaranteed with third-party brands.
Start Baking with Confidence and Expand Your Kitchen Capabilities
Now that your KitchenAid Artisan Mixer is set up correctly, you’re ready to explore a wide range of recipes and attachments. Proper setup and maintenance ensure your mixer will serve you well for years to come. Enjoy the process of baking, grinding, and creating with confidence!
Affiliate disclosure: As an Amazon Associate we earn from qualifying purchases. Prices and availability are accurate as of the time of publishing.
Fall yard work Picks
leaf blowers
As an affiliate, we earn on qualifying purchases.