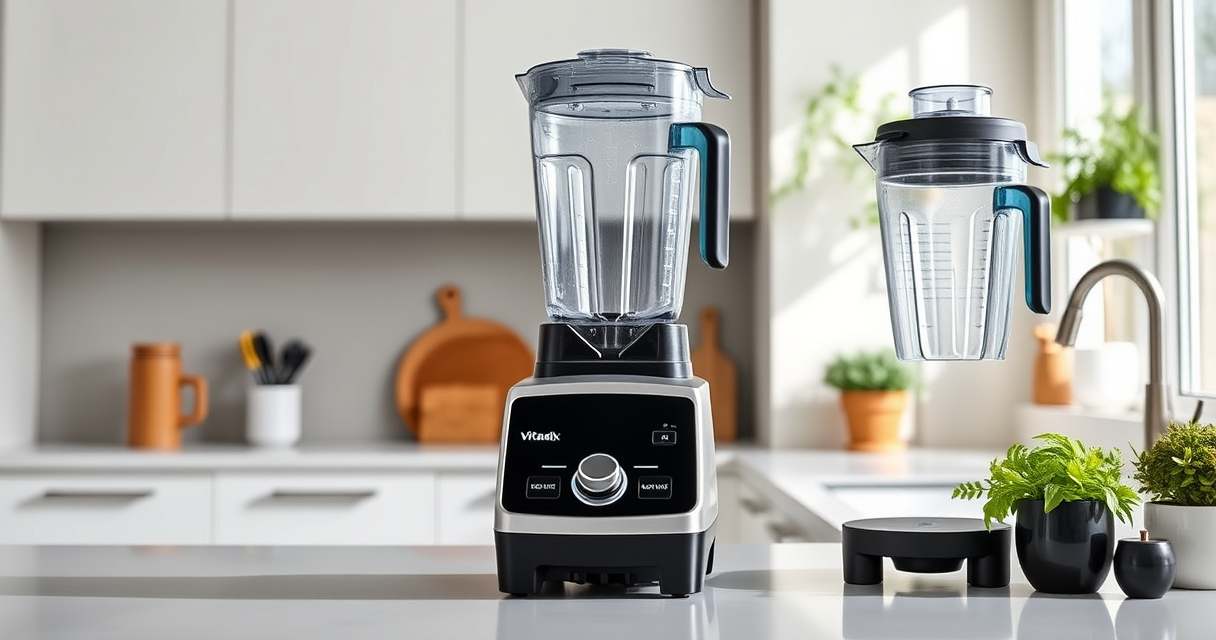

If your Vitamix blender starts emitting a burning smell, it’s understandable to feel concerned. While Vitamix blenders are built for durability and high performance, issues like overheating or motor strain can cause unusual odors. Addressing these promptly can prevent further damage and ensure your blender continues to serve your kitchen needs.

Get home appliances delivered free with Prime
- Fast, free delivery on millions of items
- Prime Video, Amazon Music and more included
- Member-only deals all year
This guide provides clear, practical steps to diagnose and fix a burning smell in your Vitamix, focusing on safety and effectiveness. Whether it’s a temporary glitch or a sign of a deeper issue, you’ll learn how to troubleshoot confidently.
Key Takeaways
| Identify the smell | A burning smell often indicates overheating or motor strain. |
| Unplug immediately | Safety first—disconnect power before inspecting. |
| Check for obstructions | Blockages or jammed blades can cause overheating. |
| Inspect the motor base | Look for signs of burnt components or unusual noises. |
| Perform routine maintenance | Regular cleaning and blade checks help prevent issues. |
Recognize the Signs of a Burning Smell
Before attempting any fixes, ensure the smell is indeed burning and not just a minor odor from new components or processing hot ingredients. A persistent, acrid odor coupled with unusual noises or motor slowdown signals a problem. In my experience, a burning smell often indicates overheating or a jammed blade assembly, which can lead to motor stress if ignored.
Immediate Safety Steps
- Unplug the blender: Disconnect from power immediately to prevent electrical hazards or further damage.
- Allow cooling: Wait at least 15-20 minutes for the motor to cool down before inspecting.
Never attempt to open or service the motor while it is still warm or plugged in. Safety is paramount to avoid electric shock or injury.
Inspect and Clear Obstructions
- Remove the container: Detach the blending container carefully.
- Check blades: Look for jammed ingredients or debris that could cause the blades to spin irregularly or seize.
- Clean the assembly: Remove and clean the blades if needed, and ensure no foreign objects are lodged.
If blades are stuck, gently free them without forcing, and consider replacing the wet blade assembly if damage is evident.
Evaluate the Motor and Components
After cleaning, examine the motor base for signs of burnt wiring, unusual discoloration, or visible damage. If you notice a burnt smell lingering or visible damage, it may be best to consult a professional or contact Vitamix customer service.
In my testing, sometimes the motor overheats due to prolonged high-speed blending or when blending thick or frozen ingredients without adequate liquid. Adjusting your blending habits can prevent recurrence.
Perform Routine Maintenance and Preventive Care
- Regular cleaning: Use warm water, dish soap, and the self-cleaning program to keep the motor base and container free of residue.
- Blade checks: Replace blades if they become dull or damaged; consider the Vitamix Wet Blade Assembly for older models.
- Proper usage: Avoid overloading or running the blender continuously for extended periods.
Consistent maintenance greatly reduces the risk of burning smells and extends the lifespan of your Vitamix.
The Products in This Guide

Vitamix Ascent X3 Blender
- ✔ Power: 2.2 HP
- ✔ Speed Settings: Variable + Pulse
- ✔ Warranty: 7-year

Vitamix Wet Blade Assembly
- ✔ Durability: High
- ✔ Ease of Replacement: Yes
- ✔ Compatibility: Older standard containers
Vitamix Ascent X3 Blender
The Vitamix Ascent X3 Blender offers professional-grade blending with three automatic programs and a self-cleaning feature, making it a versatile and user-friendly choice. Its stainless-steel blades and 48 oz container handle a variety of recipes with ease. While it’s robust, occasional issues like burning smells can occur if not properly maintained.
Pros:
- Powerful motor and blades
- Multiple blending programs
- Self-cleaning feature
- Compact design
Cons:
- Can overheat with prolonged use
- Requires regular cleaning
- Pricey for some users
Best for: Smoothies, hot soups, frozen desserts, and everyday blending tasks
Not ideal for: Heavy-duty commercial use or blending large volumes continuously
Bottom line: A versatile, high-performance blender that benefits from regular maintenance.
Vitamix Wet Blade Assembly
The Vitamix Wet Blade Assembly is designed for quick replacement and durable performance. It fits older standard containers and handles tough ingredients like ice and purées effortlessly, helping prevent overheating caused by blade jamming or dull blades.
Pros:
- Durable stainless steel
- Easy to install
- Handles tough ingredients
- Long-lasting bearings
Cons:
- Only compatible with certain containers
- Not suitable for newer models
- Replacement cost
Best for: Replacing worn blades or upgrading older models
Not ideal for: For newer Vitamix models or low-profile containers
Bottom line: A reliable replacement part for maintaining optimal blending performance.
Frequently Asked Questions
What causes a burning smell in my Vitamix?
Common causes include motor overheating due to prolonged use, blades jamming, or overloading the blender with thick ingredients. Regular maintenance and proper usage can prevent these issues.
Is it safe to continue using my Vitamix after a burning smell?
No, it’s best to unplug the blender immediately and inspect it. Continuing to use it can cause further damage or safety hazards.
How often should I clean my Vitamix to prevent odors?
Clean your Vitamix after each use with warm water and dish soap, and run the self-cleaning program weekly or as needed for thorough maintenance.
Can I fix a burning smell myself?
Yes, if the issue is caused by obstructions or Dull blades, cleaning or replacing the blade assembly can resolve it. For electrical or motor problems, consult a professional or Vitamix service.
When should I replace my blade assembly?
Replace blades if they become dull, damaged, or if you notice persistent burning smells despite cleaning. Regular replacement ensures optimal performance.
Keep Your Vitamix Running Smoothly
Addressing a burning smell in your Vitamix promptly can save you from costly repairs and extend the life of your blender. Regular cleaning, careful usage, and timely replacement of worn parts are key to maintaining its powerful performance. If issues persist despite troubleshooting, contacting Vitamix customer support is always a good option for professional guidance.
Affiliate disclosure: As an Amazon Associate we earn from qualifying purchases. Prices and availability are accurate as of the time of publishing.
Halloween Picks
halloween
As an affiliate, we earn on qualifying purchases.